
Welcome to this comprehensive guide on how to create a WordPress website in just 5 minutes!
Whether you’re starting a blog, an online store, or a business website, congratulations on taking the first step towards building your online presence!
I remember the confusion I faced when starting my own blog, and that’s why I’ve created this step-by-step guide for beginners to make the process easy and approachable for everyone.
In this post, I’ll guide you through each step of the process, and provide explanations for any terms you might come across.
Choosing Your Website’s Name
Finding the perfect name for your website, blog, or online store is crucial. It should reflect your brand, resonate with your audience, and maintain professionalism. Simplicity can significantly impact memorability and searchability, ensuring your name sticks in people’s minds.
To help you navigate the challenge of choosing a unique and effective domain name, we’ve crafted a guide filled with insights and strategies to pick a domain name that’s both unique and reflective of your online identity.
Domain Name & Social Media Consistency
Once you’ve settled on a name, the next steps are to secure a domain name and ensure your presence on social media. Think of your domain name as your online address—a unique identifier for your website. While you’re at it, check that your chosen name is available on key social media platforms (Facebook, Instagram, Twitter, Pinterest). Consistency across the web helps with brand recognition.
Web Hosting: The Foundation of Your Website
Hosting is a service provided by companies that not only stores your website’s pages and images, but also serves your website to your visitors. WordPress is one of the most popular Content Management Systems, and hosting is similar to the hard drive on your computer.
We offer WordPress and Linux hosting here, and here’s how you can purchase it and set up your website:
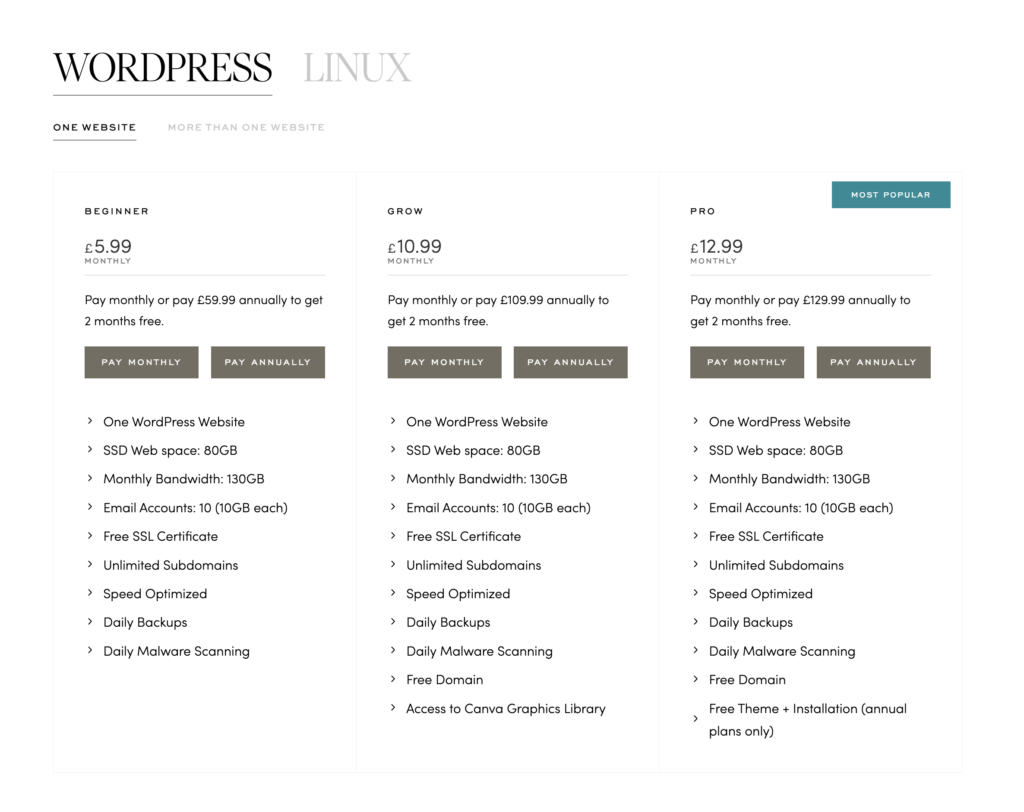
Step One: Choose Your Plan
If you have one website, we recommend starting with our Beginner plan. All essential features, including email accounts, SSL, and daily backups, are included in all plans.
If you’re also looking to get one of our themes, opt for the Pro annual plan, which includes the free Creative Her template and installation.
Step Two: Secure Your Domain
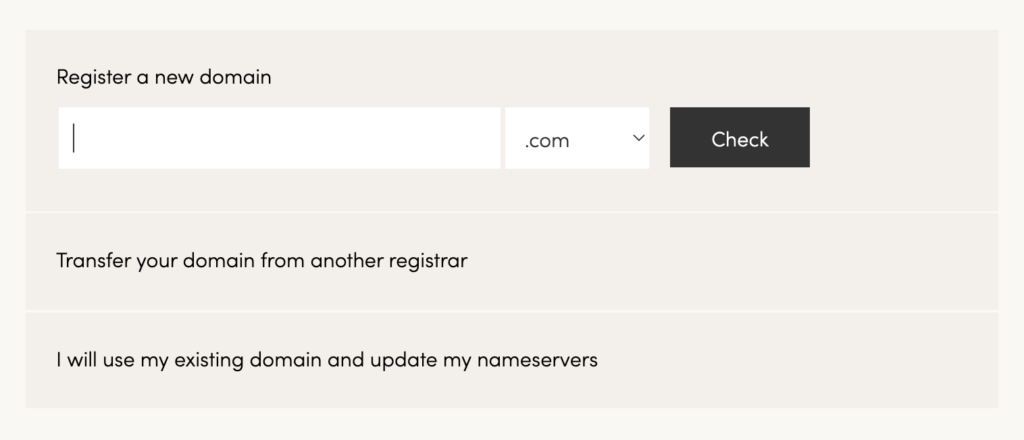
After selecting your package, enter your desired domain name. You can register a new domain or link to one you purchased elsewhere.
Step Three: Fill In Your Details
Signing up is a breeze. Choose from monthly or annual payments (with two months free!).
Step Four: Set Up Made Simple
After checkout, you’ll receive login information to our Control Panel by email. If you purchased one of our WordPress plans, WordPress will be automatically installed for you. Head to the Control Panel, click on the WordPress icon, and choose Settings > General to enter your site title, tagline, and other details.
Your site title and tagline will be displayed in the browser tab whenever someone visits your website. You can choose to display it as text or replace it with an image.
Next, go to Settings > Permalinks to select the structure of your links. We recommend the ‘Post Name’ option, which includes the post or page title in the URL for better SEO.
Step Five: Launch Time
Now is the time to let your creativity flow. Begin adding your content, select a theme that resonates with your vision, and tailor it to fit your unique style. We’re here to support you with resources and tips every step of the way.
When you’re ready, launch your website and share your passion with the world.
